Showing posts with label Natural. Show all posts

Thursday, June 5, 2014

Plants are Cool : Plantain The Anti-Poison


Herbal Bush House  is back to tell us about another wonderful creation in the “Plants Are Cool” spotlight.   I’ve posted about products that I’ve used in the past made by Herbal Bush House and they’ve kindly agreed to do a monthly post on herbs to enlighten us all.

Herbal Bush House is dedicated to promoting knowledge of the use of food, herbs and water through educational programs within the community.  Their mission is to empower people with wisdom and understanding of the use of nature’s blessings to promote healthier lifestyles.

Plantain - The Anti-Poison:

The Plantain you find on the lawn is usually Plantago Major. It is a broad-leafed plant that stays low to the ground, and has a little crooked seed stem that grows up out of the middle of the plant. Plantago lanceolata is usually found in backyards and waste places. It is a long narrow leaf with the veins that run parallel from stem to tip. Some plants will grow a foot tall and the seed stem grows straight up from the middle of the plant sometimes reaching heights of two feet.

Plantago Major


Plantago Lanceolata
Plantain is an infection fighter for the immune system. It fights blood poisoning, kidney and bladder infection, poisonous bites and stings. Here is a testimonial story. A man took his favorite dog on a hunt one day, the dog was bitten on the shoulder by a diamondback rattlesnake. When he got the dog back home, he put some plantain juice on the bite, the dog kept licking the juice off. He put some plantain juice in a bowl and the dog lapped it up. Then he smashed up some plantain leaves and put it on the dogs shoulder for a couple days. The dog laid around the first day , the second day she was up and down, but the third day she seemed normal , thanks to plantain.
Plantain is one of those herbs recommended for many ailments: poisonous bites and stings, boils and carbuncles, tumors, inflammation, eczema, thrush, blood poison, yeast infection, ulcers, bed-wetting, poison ivy and many more. Plantain leaves are best used fresh, the plant can be put in a blender roots and all. The macerated fresh leaves can be put on bee stings and used for skin irritations. The important constituents of plantain is the gluside aucubin and allantoin. Plantain can also be used for burns, cuts and wounds and insect and flea bites as well.

Plantain (Plantago Major)
Ribwort Plantain (Plantago Lanceolata)


Look for plantain in your back yard!! I wonder if you will find it?  I know we've used it for Caleb's eczema...in oil and leaf form.

Peace and love!

Sunday, April 27, 2014

The Bantu Knot Out Time Line

 
Hi Folks!  I'm here with a Bantu knot update!

I pulled each knot out and styled it.  I was surprised at the choppy nature of the knots (they did not fall very nicely).  Very different in comparison to a twist out in my opinion.  I had to pin the back up to be satisfied with my look for the day.    Check it out! :)


Bantu knot explosion


 Back view - after pinning it up
 
 
  To recap here in my Bantu knot time line:


Wednesday, April 23, 2014

Plants Are Cool: Ashwaganda - The Stress Reliever


Every month you will hear from the herbalists at Herbal Bush House in what I’m calling the “Plants Are Cool” spotlight.   I’ve posted about products that I’ve used in the past made by Herbal Bush House and they’ve kindly agreed to do a monthly post on herbs to enlighten us all.  They sell personal care products like face cream, shampoo, hair pomade, Gut Buster, probiotics, and a host of slaves and oils for various ailments and conditions.  All products are 100% natural and made with care.

So let me formally introduce you:
Herbal Bush House is dedicated to promoting knowledge of the use of food, herbs and water through educational programs within the community.  Their mission is to empower people with wisdom and understanding of the use of nature’s blessings to promote healthier lifestyles.

Now let's get down to business!

Ashwaganda: The stress reliever
Withania somnifera commonly called Ashwaganda (Ash-wa-gan-da) also known as Indian ginseng is an adaptive herb and one of the best I may add.  I love it. It doesn’t matter how hard and stressful your life may be.  A cup or two of Ashwaganda can ultimately bring that stress level down to zero. Stress can affect the body in many ways. For instance a person under enormous stress can develop high blood pressure, an over or under active thyroid, low libido, fatigue, digestive issues and a host of other ailments. Stress takes a huge toll on your adrenal glands. As you ascend into the burnout zone and are at the point where you can’t focus on anything and everything gets on your nerves, think of Ashwaganda as a good friend.  A friend there to help you through the hard times.  Because of the great adaptogenic properties of Ashwaganda coping with stressful situations can be simple whether at home or at the workplace. Ashwaganda is a general tonic that can increase energy levels in the body, it’s also know to help aid in proper thyroid function, insomnia, male and female fertility, anxiety and more. Ashwaganda is also known as Indian Viagra because it has been used by many men to rid themselves of impotence.

Ashwaganda!

Ashwaganda!


 Your health is your command!

Wednesday, April 9, 2014

Natural Pain Relief!

Hi Folks - I had a terrible experience at the dentist last week that I'm still suffering from. I ended up in a lot of pain and since I am in the process of flushing my liver, I didn't want to take any pain medication that my liver would have to process.  So I was advised to do two things: 1) take white willow bark tea and tincture and 2) place cloves and clove oil on the affected area. 

I was seriously on the verge of popping some pills, but I took a leap of faith and tried  the natural home remedies that were suggested.  Needless to say both applications worked extremely well and I now have two more natural remedies in my treasure chest. 

Let's talk about why these two plants sources (white willow bark and cloves) helped relieve my excruciating pain. 

White Willow Bark: 
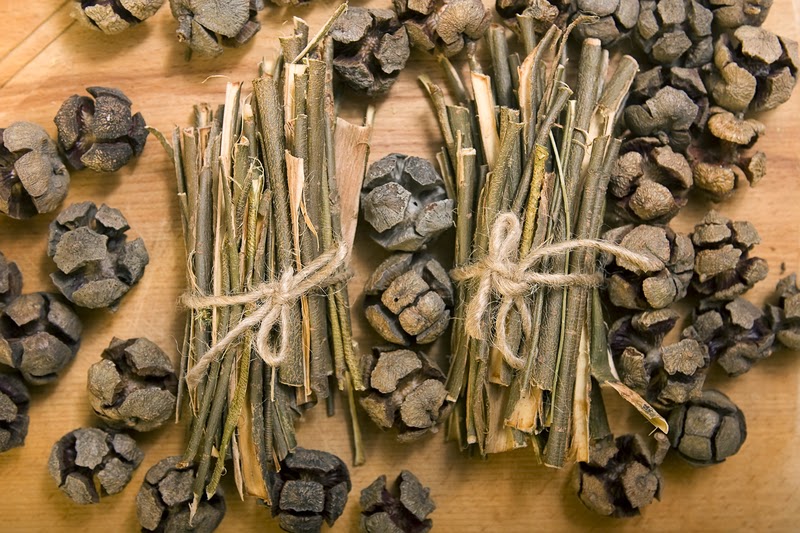
  1.  The bark from the willow tree  is actually  used to make medicine. The active ingredient in aspirin (acetyl salicylic acid), is derived from white willow bark.   The bark  is used to relieve pain from headaches, muscle aches, menstrual cramps, arthritis, and gout. 
  2. Historically, willow bark was commonly used during the time of Hippocrates and people chewed on the bark to reduce fever and pain
White willow bark

How I used White Willow Bark: 
  • I steeped the bark in hot water and drank as a tea (no sweetener) for three days.  The tea was devoid of any taste (which I prefer over extremely bitter teas). It was like drinking warm water. 
  • After the third day, I added the white willow bark tincture in my herbal tea
White willow bark tea
Cloves: 
  1. Cloves are the flower bud of a tree and are native to Indonesia
  2. Cloves are used in various types of healing practices such as: Indian Ayruvedic medicine, Chinese medicine, and herbalism and dentistry where the essential oil is used as a painkiller for dental emergencies. 
  3. It's an aromatic spice that is used in many types of cuisines.

Clove buds
                                  
How I used Cloves: 
  • The first day I actually put 5 clove buds in my mouth where the pain was coming from. I kept them in ALL NIGH LONG.  Within 30 minutes the pain was gone. No joke!
  • The next day along with taking the white willow bark tea, I applied the clove oil to the affected area using a cotton swab.  Initially, the oil burned but in about 15 seconds the burning sensation dissipated and I was left pain free. 
Clove oil
Cotton swabs used to apply clove oil

I am a true believer and witness to the healing power of willow bark and cloves.  If you have a dental emergency and are in pain don't hesitate to go back to the dentist to get retreated as necessary. I am not suggesting that you should not get rechecked if your soul leads you to that conclusion. 

 Honestly, I was a bit perturbed at the pain I should not have been in based on the procedure that was done. So I WAS NOT willing to go back to the dentist for ANY treatment. I still have pain, but my natural remedies are working.  If you have even minor aches and pains, try white willow bark.  You can contact Herbal Bush House for the tincture or go online for the tea or powdered versions.  If you are suffering from dental pain, try the cloves. You can find clove buds in any nearby grocery store and the essential oil in most health food stores. 

I'm more and more convinced everyday that nature can meet all of our needs! 

Please let me know what your experience is if you're brave enough to suck on some cloves!!!

Peace and love!


Thursday, March 27, 2014

The Hair Journey: The Clean Up Job

Hey Folks!  Ever had a twist out experience that just went really wrong?  Well I did and had to find a way to "fix" or "clean up" the mess before I went to work.  I looked like a chia pet. I call it the chia fro.   Seriously! So I created this quick up do so I could be presentable and not embarrass my family. LOL! Just call me the clean up woman!

So here is what I started with.........
The chia fro. It's okay...you can laugh...it was a hot mess........
 
Then I started parting the hair into sections and doing a combination of bantu knots and flat twists  on the sides and back.  The top and front was re-twisted and released.  Total time: 20 minutes.  Plus I wore my hair like this for the next three days.  I just refreshed the knots every morning. 
Back view

Side view

Other side....


Whew! I pulled it off! Time to start the day!

Just because you start of with a bad twist out or afro (or any other style) doesn't mean it has to stay that way or that you have to wash it out (especially if you don't have time for all of that).  If you get creative you can "fix" it or "clean it up" and come out with something quite cute.  I could have also used a headband wrap to tame the chia fro but I didn't feel like looking like Sarafina (not that there is anything wrong with looking like Sarafina....I just wasn't feeling the Sarafina vibe that particular day).  It's not always easy to find a quick fix for natural hair gone wrong, but YOU CAN do it! Or spend the day looking like the person that doesn't have any friends.  Been there too! LOL!
 
Tell me about your "clean up" experiences!!
 
Peace and love!


Friday, March 14, 2014

The Hair Journey: 100% Natural Hair Care Products

I've stated before that since my hair is "natural" I want to nourish  and care for it by using natural hair care products.  These days there are so many products on the market for natural hair, but how many of the niche and mainstream products are all natural?  Most of what you find will contain some natural ingredients but not all.  The majority of the ingredients are derived by synthetic means and you can't even pronounce them!  The Kinky Curly line comes the closest (in my opinion).

Because of the desire to care for my hair with natural substances, I've expanded my hair care repertoire from shea butter, aloe and apple cider vinegar (ACV) to products made by Herbal Bush House.  For the last two months I've been using these products and I am VERY pleased!!! I started with the shampoo and rinse, then included the pomade.  They contain ingredients you can find in your kitchen or garden and I can pronounce every word! :)

1. SOIL HERBAL SHAMPOO:

Contains: purified water, rose, black walnut leaf, neem, rosemary, yarrow, foti root, basil leaf, horsetail, coconut oil, potassium hydroxide, olive oil, hemp oil, jojoba oil and citric acid


My rating:  GOOD, will continue to use


2. SOIL HERBAL HAIR RINSE:

Contains: purified water, hibiscus, amla, pea protein, apple cider vinegar, rose, black walnut leaf, neem, rosemary, yarrow, foti root, basil leaf, horsetail, coconut oil, potassium hydroxide, olive oil, hemp oil, jojoba oil and citric acid

My rating: The BOMB DIGGY, LOVE THIS STUFF!!! This product softens my hair, and I've been using it as a sort of "co-wash" when I don't want to shampoo my hair. 

3. SOIL HERBAL POMADE:

Contains: avocado oil, grape seed oil, coconut oil, olive oil, slippery elm, Irish moss, flax seed and rosemary essential oil
 
My rating: The BOMB DIGGY!!!! LOVE THIS STUFF!! I've been using it for my wet and dry twist and braid outs as featured in my last styling frenzy.  I've also been using it daily, especially after I release my twists.  It leaves my hair soft and "fluffy" and well nourished.


Dry skinny twist out using Herbal Bush House "Soil" line

Have you found any other 100% natural products on the market?  Do you make your own?

If you are interested in trying these products click the Herbal Bush House link and you will be on their webpage.


Peace and love!

Friday, February 21, 2014

The Hair Journey: Tress update #11

My hair is growing ya'll!!! I'm so pumped about it!!!  Some of my previous styles have to be altered to corral all this hair on my head! I'm blessed that it's so thick, but that also means I have to spend more time caressing it.

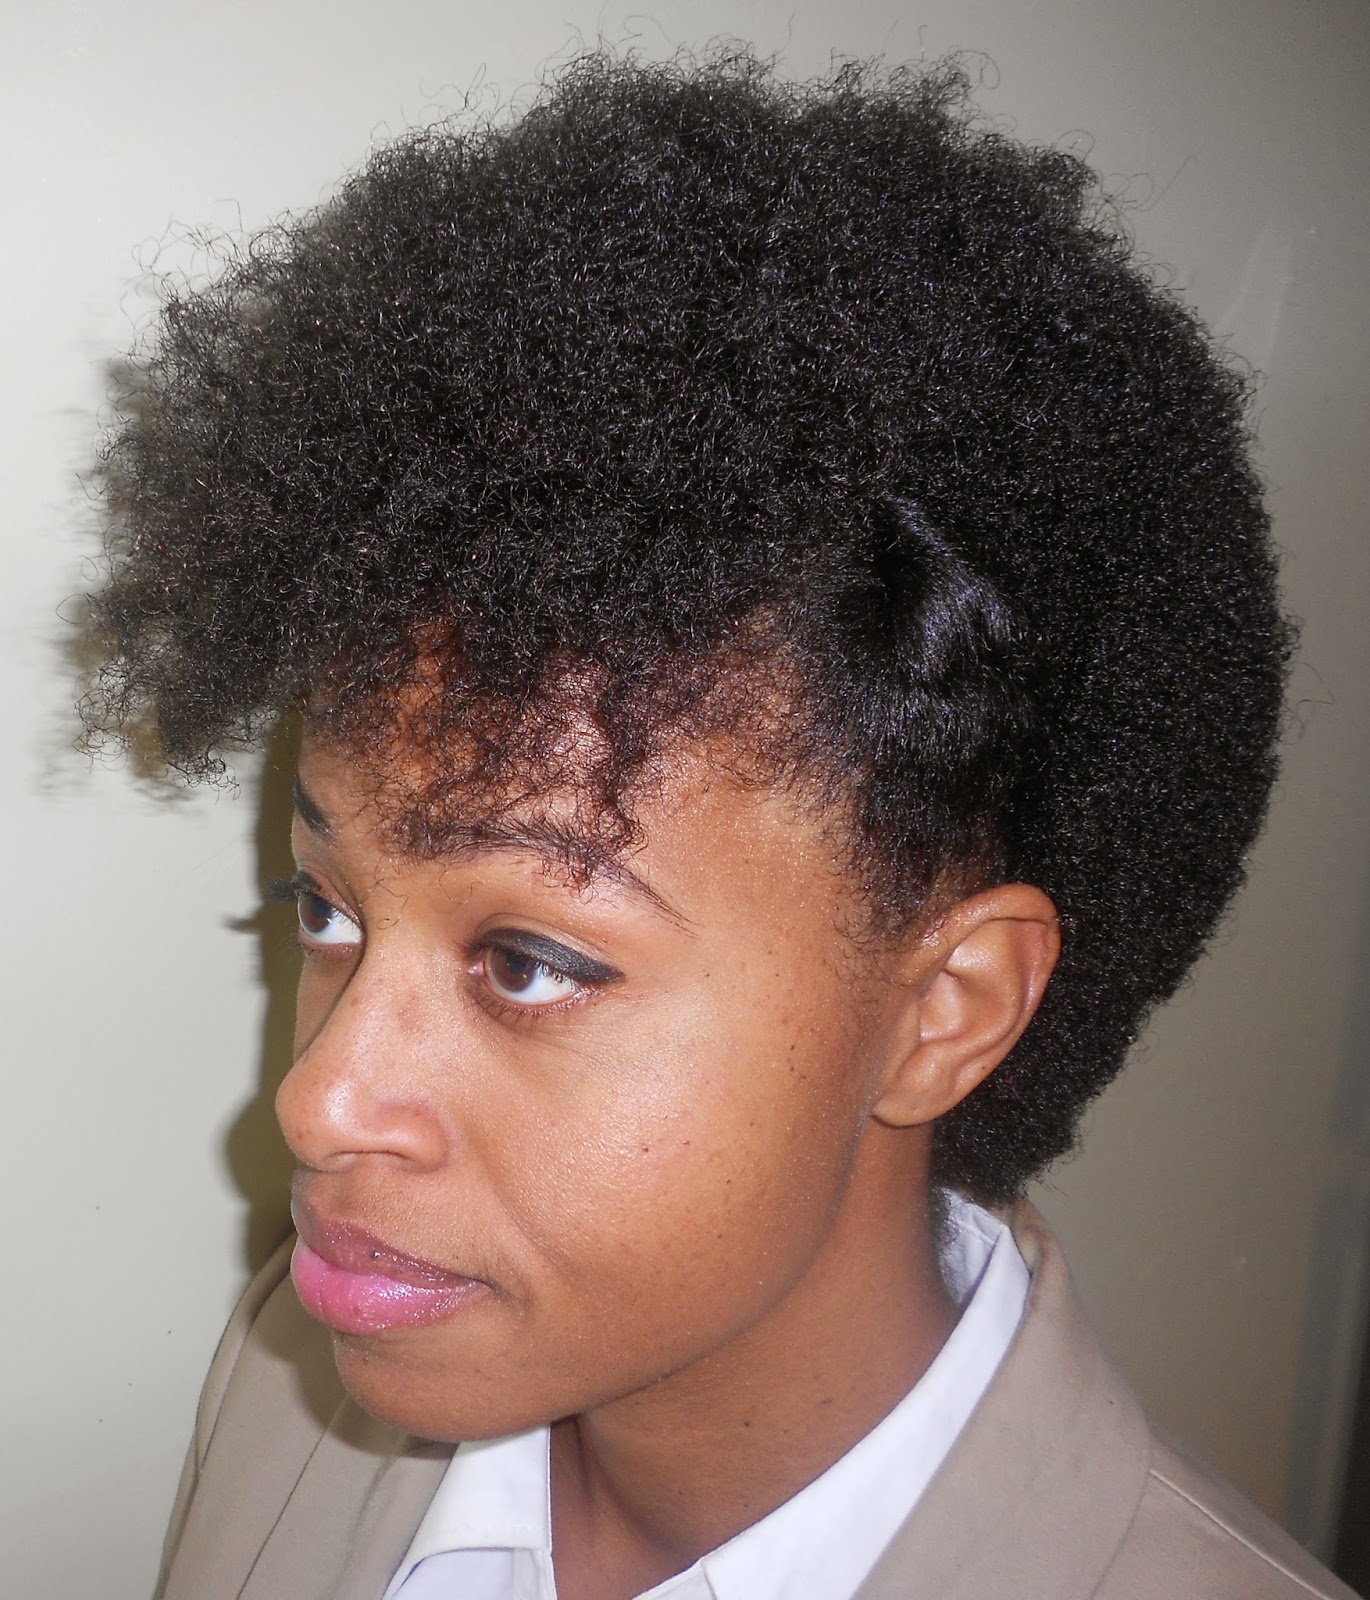
Check out my latest Fro Hawk!! So EXCITED to share!!! :)

The lastest Fro Hawk!

Here is the Fro Hawk timeline showing growth.........All hawks shown were freshly washed, buttered (using shea butter), picked out and patted into submission!  The longer my hair gets, the harder it is to have a well rounded fro.


 Peace and Love!


Tuesday, February 18, 2014

The Hair Journey: Freddie D Fro - Chunky Style

Hi Folks!! Everyday is an adventure with my hair.  I remixed the Freddie D Fro Fro to a chunky version....

This style is a result of a dry a dry twist out and products by Herbal Bush House.  The pictures below show a 1 day old chunky fro.

Check it out! :)

Check out the side part! :)


What do you think?
 
 Peace and love!! 

Friday, January 10, 2014

The Hair Journey - Sealy Twist Up Do

I have come up with another style for my growing tresses.  This is the second up do I've created with my hair since the growing process started.  It's always so exciting to be able to put a pin in it.  It breathes growth into the atmosphere!! :) I love changing my hair styles and with certain lengths it's not that easy to do. 

I call this style the Sealy Twist up do based on the thickness of the twists...and it makes me smile! I know you Color Purple fans out there can relate! Here is the process:


Step 1 -  Twist.  Yes...I'm looking real soulful in that bonnet...You should be glad I like you guys!! I'm showing you my private morning moments! :)
 
 Step 2 - Pin the back, leave the front top and front side twist down.

 
 Step 3 - Release the top front and side twists.  Then fluff and tease to add volume.


What do you think? I'm loving it! 

Peace and love!

Saturday, January 4, 2014

The Hair Journey: Chunky Afro - Dry Twist Out Process

Hi Folks! As my hair grows, so does my exploration into various styles.  The choices seem to change with each 1/2 inch of growth.  It's been pretty fun to come up with different styles for each stage. One of the most maintenance free styles (meaning I can sleep on it an fluff it out the next day and still look cute)  is the chunky afro by way of the twist out.  My twist outs consist of two strand twisting my hair into various sizes based on the desired coil pattern.


For my chunky afro I prefer the dry twisting because it does not take as long to get big and sassy.  With wet twist outs, it make take a week, with water spritzing to get it to look the way I want. here is my process to get a sassy chunky afro using dry twists.

Step 1 - After wearing my hair in a Flo Fro for one day, I get some oil and begin to twist. 


Step 2 - Here are the completed twists. It took about 1.5 hours.   If I don't have to go out for professional events, I try to keep my hair twisted for a couple of days.  I DO NOT like wearing my hair like this with no coverings (hat, head wrap, etc.). I call them my Color Purple Miss Ceely twists.  Not cute.


Step 3 - After a day or more, I release the twists and let the spiral curls that result get acquainted with the environment. Take a look at the difference between Day#1 and Day#3.  I prefer the Day #3 look. 


Here is the back view.  See the coil/spiral pattern on each piece of hair on Day #1?  Day #3 is less defined and more sassy!  This is the look I love! I can wear my hair like this for a week, and it is still cute!!! Love it!  It's the "weathered" look.  I sometimes pull out the twists and do not cover my head while in the shower.  The extra droplets of water help the fro expand.


Are you a chunky fro fan?  Have one?? How did you achieve your favorite chunky fro look?

Peace and love!

Thursday, January 2, 2014

The Juice Journey: Fantastic Fruit Punch!

I'm on a fresh fruit juice kick and I made some A-MA-ZING fruit punch yesterday.  It's fantastic, yummy, and nice to look at. The idea for this juice popped into my head because I had strawberries and grapes that needed to be eaten.  Caleb is VERY finicky these days about what fruit he eats.  He used to eat everything.  Now, he asks for things, I buy it and then he does not eat it....go figure.  Thus the fruit punch! Caleb actually helped make this juice...and I will add that he was eating on the job!  So there were a few strawberries that didn't make it into the juicer.  Ahhhh...I digress! Check out how I --excuse me -- I mean WE made this fantastic juice!

Fantastic Fruit Punch Recipe:
1 ripe pineapple
5 oranges
1 cup of fresh strawberries
2 cups of fresh cranberries
2 cups of fresh grapes
1.5 inches of fresh ginger root

Here's how WE made it:

Step 1 - gather all ingredients (and a chair for Caleb to stand on), wash, peel and chop in preparation for the juicer.
Oranges, pineapple, red grapes, strawberries, cranberries, ginger root


Step 2 - Juice all ingredients (remember to alternate hard and soft ingredients).  Pictures were hard to take with a 2 year old close to a wired, running appliance.  It was fun but please take care to monitor EVERY move your child makes while helping to prepare any food item.

 
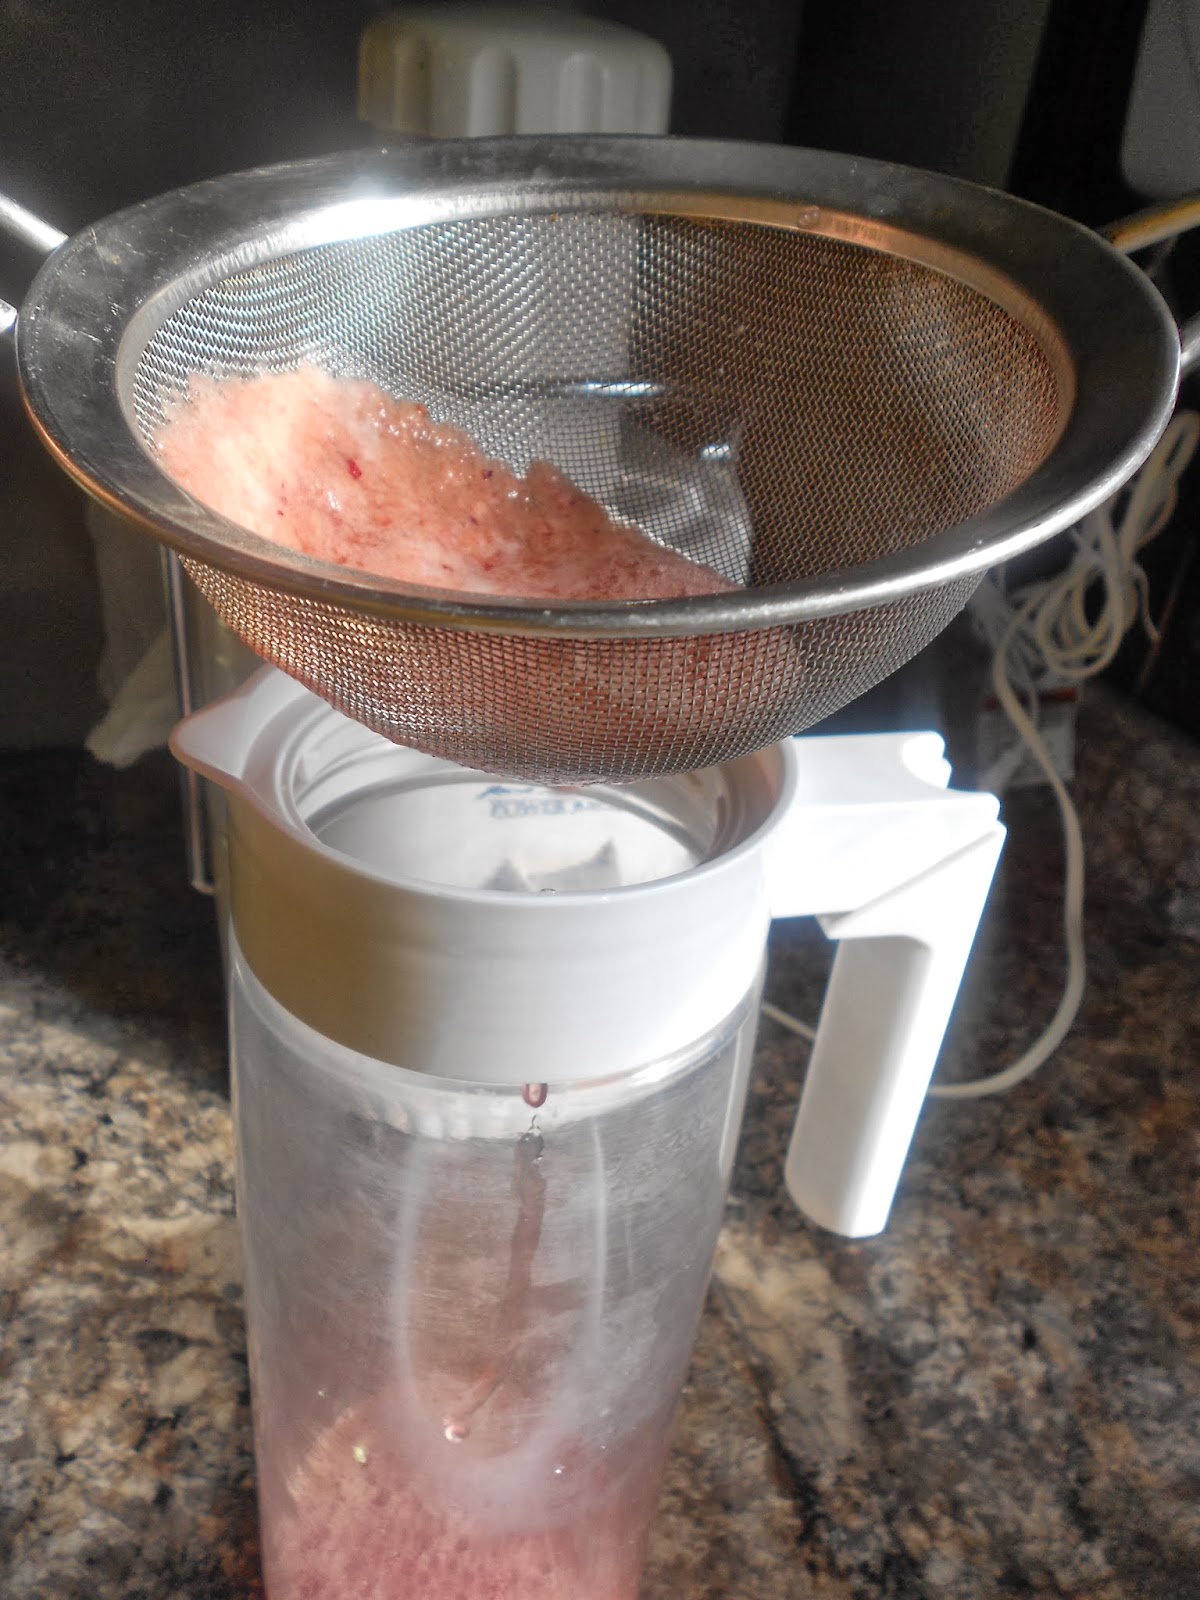
 Step 3 -  Separate the pulp in the finished juice by using a standard strainer.


 Check out the pulp that was left over!

 
The pulp was so tasty (yes I tasted it!) I saved it for smoothie making.  I usually don't save the vegetable juice pulp, but fruit juice pulp is still so sweet.  I hate to throw it away.
 
Step 4 - ENJOY! :) Note: this recipe yielded 3 cups of juice.  It was very sweet, so I could have stretched it out with water. 


 Step 5 - clean up.  The worst part of making juice is the clean up process.


This is a great juice for the entire family.  It's also good to drink throughout the day.  It's an awesome alternative to the powdered, sugary fruit punch you will find in a can or tin in the grocery stores.  Yes, it takes more work....but it's so much better for you.  Remember you can use any combination of fruit you want.
 
 
Drink up!!
 
 
Peace and love!